
Teaching your child to ride a balance bike is one of those parenting wins that feels like magic — and it is a lot simpler than most people expect. Most kids work through four completely natural stages, from standing and walking the bike to gliding confidently with their feet in the air, typically between 18 months and 4 years old. You do not need a lesson plan. You need the right bike, the right setup, and a little patience.
Key Takeaways
- Children as young as 18 months can start on a balance bike and often work through all four learning stages over the following months.
- Proper seat height — approximately 1 inch below your child’s inseam — is the single most important setup step before the first ride.
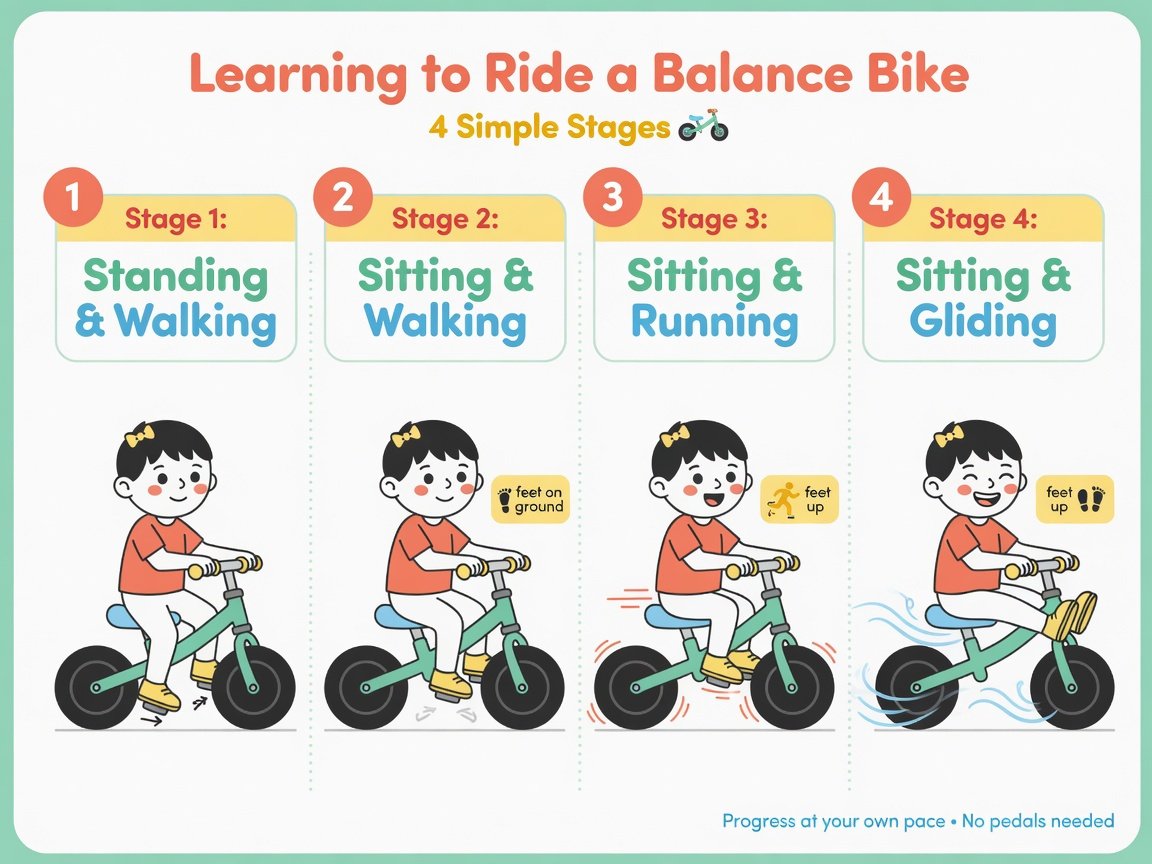
- Learning unfolds through four natural stages: stand and walk, sit and walk, sit and run, and finally sit, run, and glide.
- Balance bike graduates almost universally skip training wheels entirely and transition to pedal bikes faster than peers who learned on stabilizers.
What Is a Balance Bike and Why Does It Work So Well?
A balance bike is a two-wheeled bike with no pedals, no chain, and nothing mechanical to get in the way. Kids move themselves by walking or running with their feet on the ground, gradually building toward lifting their feet and gliding. It is beautifully simple — and that simplicity is the whole point.
Some of the links in this article may be affiliate links. If you make a purchase through these links, we may earn a small commission at no extra cost to you. Thank you.

Traditional training wheels actually teach kids the wrong habit: leaning into the stabilizers for support rather than using their core and body to stay upright. Balance bikes flip this dynamic entirely. With nothing to lean on, children develop genuine balance and coordination from their very first ride. Child development research consistently identifies balance — not pedaling — as the hardest part of learning to ride a bike. Solve the balance problem first, and pedaling takes care of itself in a fraction of the time.
The results speak for themselves. Children who learn on balance bikes almost always transition to pedal bikes without training wheels, typically mastering independent pedaling within a single session. Compare that to the weeks or months many kids spend stuck on training wheels before making the switch, and the case for balance bikes becomes very clear.
How Do You Choose the Right Balance Bike for Your Child?
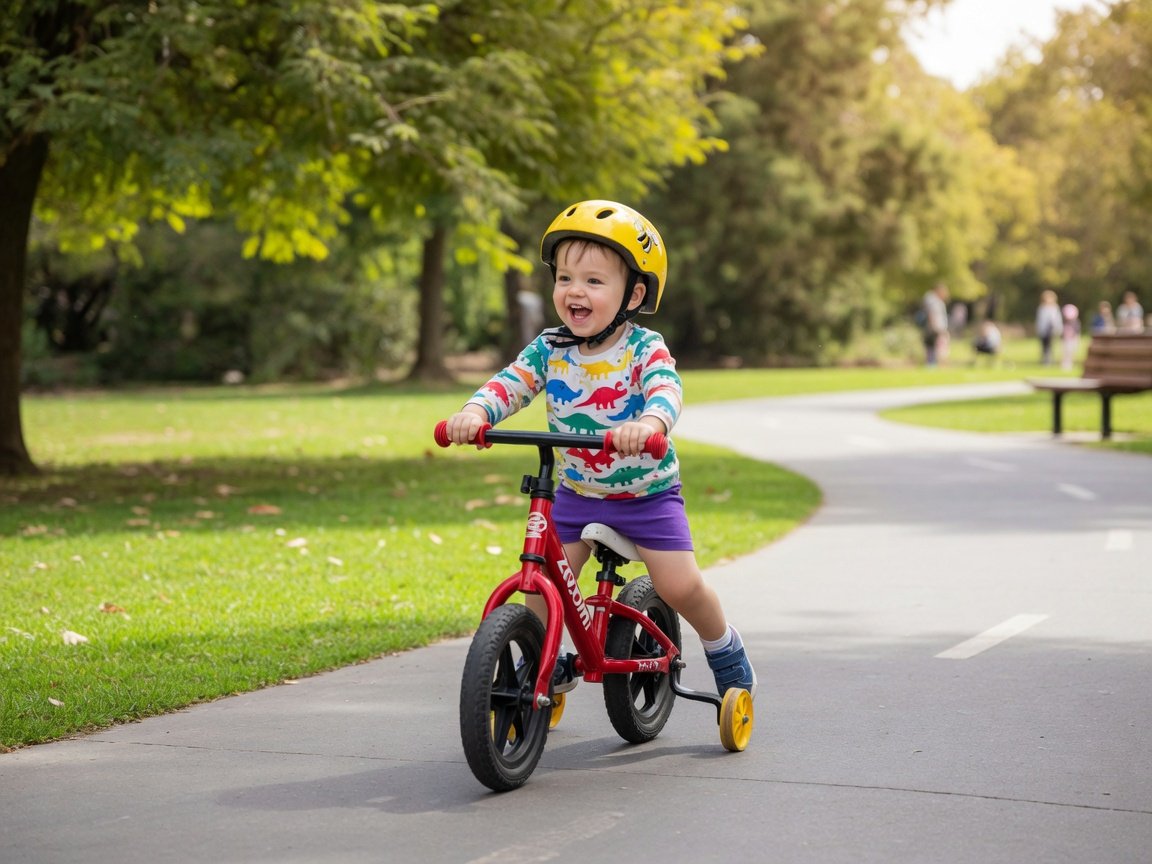
Before your child can ride, you need the right bike. A poorly fitted or overly heavy balance bike can frustrate even the most eager little rider — and that frustration can set back the entire learning process by weeks. Here is what actually matters when you are shopping.
Keep It Light
A reliable benchmark: the bike should weigh no more than 30% of your child’s body weight. For a 25-pound toddler, that is roughly 7.5 pounds. Bikes made from aluminum or composite materials hit this target comfortably, while many steel-frame budget options do not. A child who is wrestling with a heavy bike loses enthusiasm very quickly. If lightweight design is a priority, our hands-on look at the Bixe Blue’s aluminum frame and overall build quality gives a practical sense of what well-made lightweight construction looks and feels like.
Match the Wheel Size to Your Child
Most balance bikes come in 10-inch or 12-inch wheel sizes. Ten-inch wheels work well for toddlers aged 18 months to about 3 years; 12-inch wheels suit children aged 2 to 5. The most reliable sizing guide, however, is not age or height — it is your child’s inseam. Measure from their crotch to the floor while they are wearing their usual riding shoes, then look for a bike with a minimum seat height at least 1 inch below that number. For a thorough breakdown of sizing by age and developmental stage, our guide on choosing the best balance bike for your child covers every relevant variable in detail.
Features Worth Paying Attention To
- Adjustable seat and handlebars — your child will grow quickly, and the ability to raise the seat keeps the bike usable for 2 to 3 years
- Air tires vs. foam tires — air tires provide a smoother, more cushioned ride but require occasional inflation; foam tires are puncture-proof and completely maintenance-free
- A hand brake — not necessary for early learners, but very useful once kids are gliding at speed, particularly on inclines
- Low step-through frame geometry — look for a frame design that lets small feet reach the ground easily without stretching or tipping to one side
How Do You Set Up a Balance Bike Correctly?
Getting the setup right before your child’s very first ride is the single most impactful thing you can do as a parent. A poorly adjusted bike is the number one reason children struggle early on — and it is completely preventable.
Step 1: Measure Your Child’s Inseam
Have your child stand flat-footed in the shoes they will wear when riding. Measure from the floor straight up to their crotch. Write this number down — it is your key measurement for everything that follows.
Step 2: Set the Seat Height
Set the seat approximately 1 inch below your child’s inseam measurement. This allows a slight, comfortable bend in the knees — what bike fitting professionals call an “athletic stance.” A seat that is even 2 inches too high forces your child to tiptoe, which makes the bike feel unstable and uncomfortable from the start. Too low, and their stride becomes cramped and inefficient.
Step 3: Position the Handlebars
With your child seated on the bike, the handlebars should sit roughly at elbow height. This keeps their arms relaxed at their sides rather than reaching awkwardly upward or hunching down. Comfortable arm position matters more than most parents expect — it directly affects how long a small child can ride before tiring out.
Step 4: Check the Tires
If the bike has air tires, check the pressure before every ride. Under-inflated tires make the bike noticeably harder to push and significantly slow down a learning toddler. The recommended PSI is printed on the tire sidewall — most balance bike tires run between 15 and 25 PSI. A small hand pump takes under a minute and makes a real difference in how the bike handles.
What Are the 4 Stages of Learning to Ride a Balance Bike?
Here is the part that surprises most parents: you do not really need to teach your child to ride a balance bike. The learning process unfolds naturally through four stages, with almost no formal instruction required. Your role is to create the right conditions — safe space, a well-fitted bike, and consistent access — and then follow your child’s lead.
Stage 1: Stand and Walk (Typically 18 Months to 3 Years)
What your child does: Most toddlers approach a balance bike by standing over the frame and walking it around — not unlike pushing a toy lawnmower. Many actively resist suggestions to sit on the seat at this stage, and that resistance is perfectly normal. Some children walk the bike around for weeks or even months before climbing on.
How long does it last? This is almost always the longest stage, especially for younger riders. An 18-month-old might spend several months here. A confident 3-year-old might walk the bike for five minutes and then decide to sit down. Both outcomes are completely fine — there is no correct pace.
What you can do: Follow your child’s lead entirely. Do not suggest sitting if they are not ready for it. Simply give them time and regular access to the bike. One thing worth noting: allowing a lot of time on tricycles or training-wheel bikes during this period can slow balance bike progress, as those ride-ons reinforce a very different kind of movement pattern that does not carry over.
Stage 2: Sit and Walk (Typically 2 to 3 Years)
What your child does: Eventually, curiosity wins. Your child climbs onto the seat and discovers they can walk the bike while sitting down. At this stage, excitement starts to build — they are beginning to understand what a balance bike can actually do for them. The seat is now doing its job, supporting their weight while they learn to coordinate movement and forward motion at the same time.
How long does it last? Younger and more cautious children tend to stay here longer. Once a child gets comfortable sitting and moving simultaneously, they almost always want to go faster — which naturally pushes them into Stage 3. The transition often happens quickly once it starts moving.
What you can do: If your child seems stuck at this stage, try taking them to a park where other kids are riding balance bikes. Watching peers glide around is enormously motivating for most children. That said, if your child is shy or easily discouraged by comparison, group settings can backfire — trust your instincts about what helps versus what adds unwanted pressure.
Stage 3: Sit, Run, and Balance (Typically 2 to 4 Years)
What your child does: This is the stage where parents need to step up their cardio. Once kids discover they can run on the balance bike, they go for it — and they go fast. They begin pushing off harder, picking up real speed, and experimenting with lifting their feet for brief moments. Balance is actively developing in real time, often visibly improving from one session to the next.
How long does it last? Stage 3 is typically the shortest of all four stages. Adventurous kids can fly through it in a single afternoon. More cautious children might take a few weeks. Either timeline is perfectly normal — there is no race to get to Stage 4.
What you can do: Move your practice sessions to open, contained spaces well away from streets, driveways, and other traffic hazards. At this stage, kids have enough speed to create real safety risks if they are riding near moving vehicles. Quiet parking lots, wide park paths, and fenced play areas are all ideal settings for Stage 3 riders.
Stage 4: Sit, Run, Glide, and Explore (Typically 2.5 to 4 Years)
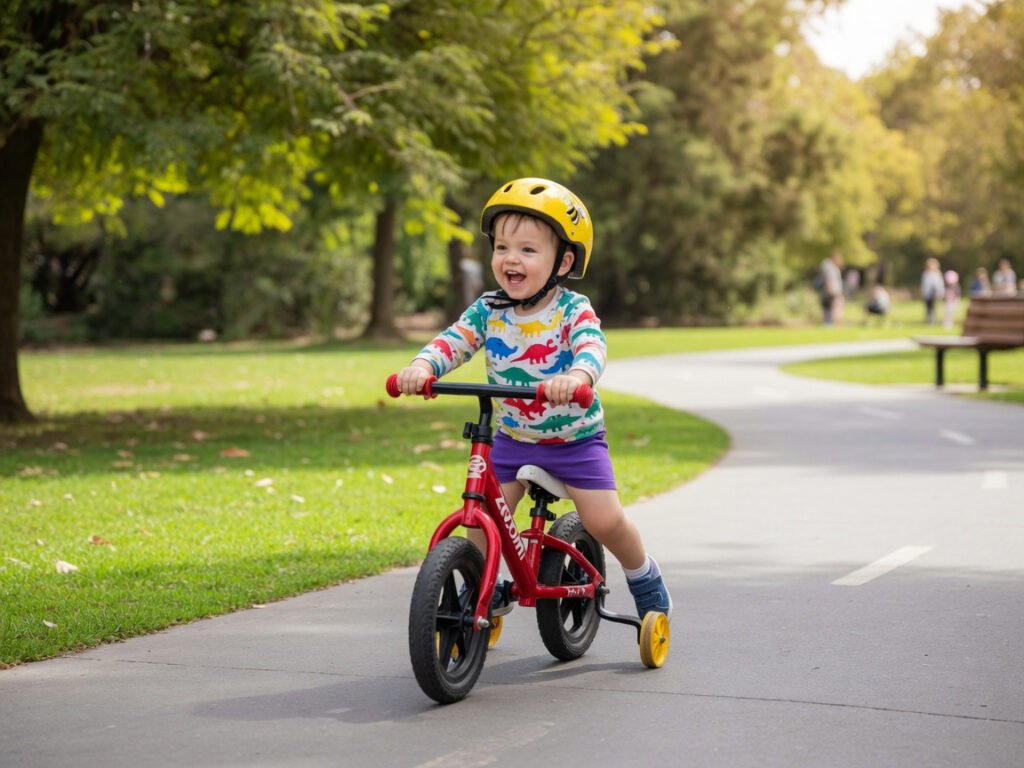
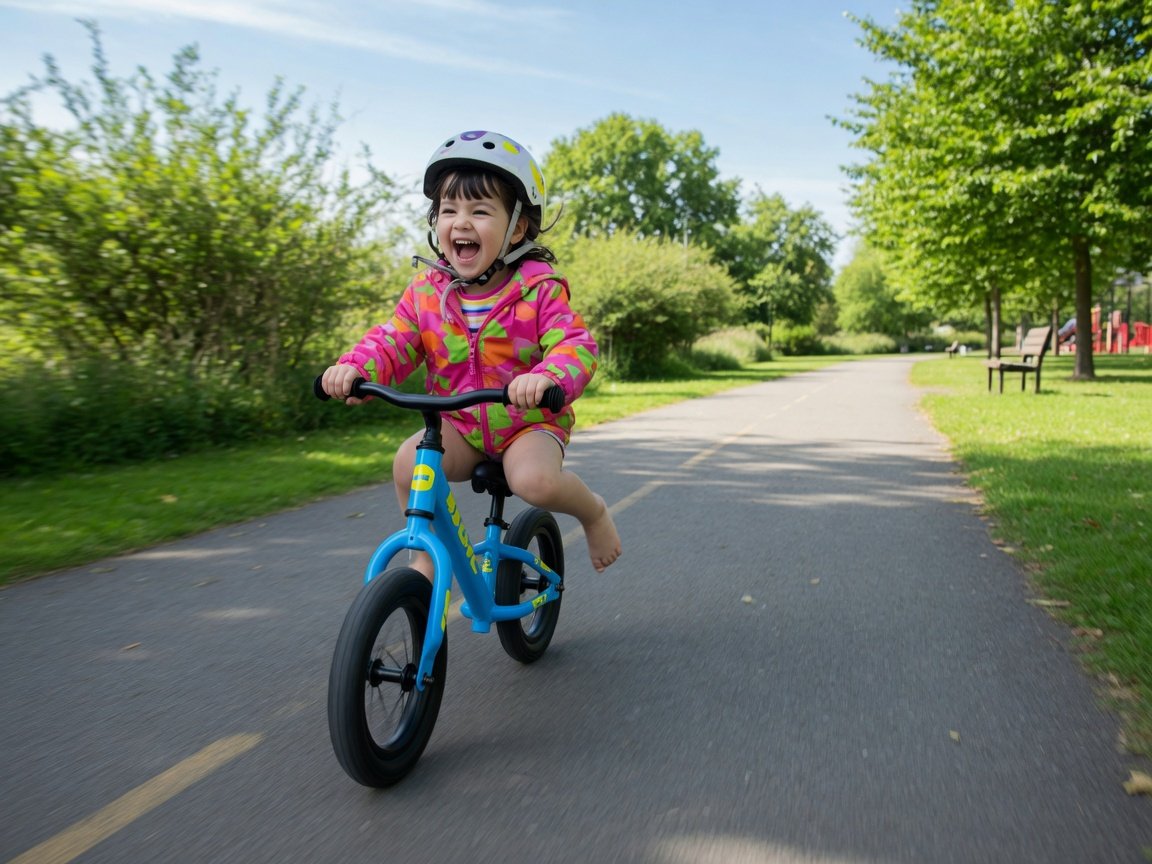
What your child does: The glide is the moment every balance bike parent has been waiting for. Your child pushes off, lifts their feet completely off the ground, and coasts — sometimes for several exhilarating seconds at a time. At this point, the balance bike has transformed from a learning tool into a vehicle for real adventure. Pump tracks, gentle gravel trails, park paths, low ramps — kids who have mastered the glide can take on terrain that would completely overwhelm children still riding on training wheels.
How long does it last? This is not really a stage with a defined end — it is a new beginning. Many children happily ride their balance bikes for another year or two after discovering the glide, exploring progressively more challenging terrain as their skills and confidence grow. Do not rush the transition to a pedal bike. Let your child lead that decision.
What you can do: Help your child find the glide by rolling them very gently down a slight grassy slope or a mildly inclined driveway. The incline naturally encourages foot-lifting without any instruction. Once they have felt the sensation of coasting, they rarely stop trying to replicate it. For more advanced skills and techniques that keep gliding kids challenged and progressing, our article on mastering balance bike riding technique covers pump tracks, trail riding, and building confident two-wheel skills.
How Does a Child Stop on a Balance Bike?
Stopping confidently is just as important as moving forward — and the good news is that most kids figure it out instinctively, without much coaching from you. There are two main stopping methods on a balance bike.
Stopping with Feet
The natural instinct for almost every young rider is to drop their feet and drag them flat against the ground to slow down. This is exactly the right technique. What you want to gently correct is toe-dragging, where feet trail behind the bike with toes scraping along the surface. Toe-dragging does slow kids down, but it is less effective and absolutely destroys shoes at an alarming rate. Encourage your child to stop with the full sole of their shoe flat on the ground — heels down, feet forward. Closed-toe shoes are a must on a balance bike; open sandals and flip-flops are a reliable path to scraped toes.
Stopping with a Hand Brake
Not all balance bikes include a hand brake, but for those that do, it becomes a genuinely valuable tool once a child is gliding at real speed. Most children develop the hand-eye coordination needed to operate a hand brake effectively around 2.5 to 3 years old. Before that point, foot-stopping is usually more reliable anyway.
A hand brake allows for faster, more controlled stops — especially useful on hills or when riding on varied terrain. There is also a long-term benefit worth knowing about: children who learn to use a hand brake on a balance bike transition to pedal bike braking far more naturally than those who have not. If you live in a hilly area or your child loves speed, a balance bike with a rear hand brake is worth the extra investment. The Strider 14x is a well-regarded option with a hand brake built in, designed specifically for more advanced balance bike riders who are ready for real stopping power.
What Safety Gear Does Your Child Need?
Balance bikes are among the safest wheeled ride-ons available for young children. They sit closer to the ground than bikes with training wheels, and the complete absence of pedals and crank arms eliminates one of the most common injury sources in early cycling. That said, falls are a guaranteed part of the learning process at every stage — and the right gear makes them significantly less consequential.
Helmet: The One Non-Negotiable
Every single ride — from the very first wobbly walk to the fastest confident glide — requires a properly fitted helmet. Toddlers fall face-first; it is simply how their center of gravity works at this age, and it happens even at walking speed. A helmet should sit level on the head, approximately two finger-widths above the eyebrows, with a chin strap that allows just enough room to slip one finger underneath. Pediatric safety organizations are unanimous: a helmet worn on every ride, starting from day one, is the most effective safety measure available for young cyclists.
Gloves
Young children almost always put their hands out first when falling. Even lightweight knit riding gloves can prevent the scraped palms that cut a riding session short and make a child reluctant to get back on the bike. Many parents find that a single painful scraped-palm fall, followed by gloves on every ride thereafter, dramatically improves a child’s willingness to take the risks that move their skills forward.
Knee and Elbow Pads
Optional in the beginner stages, more worthwhile as kids progress into faster riding and more adventurous terrain. For children riding pump tracks or at a dedicated bike park, knee and elbow pads are strongly recommended. For typical driveway and park path riding, they are a nice-to-have rather than an essential.
Appropriate Footwear
Closed-toe shoes with flat, grippy rubber soles are ideal. Sneakers work perfectly. Sandals, flip-flops, and backless slip-ons increase the risk of foot injuries and also make pushing off from the ground noticeably less effective.
How Long Does It Take to Learn to Ride a Balance Bike?
This is the question parents ask most often — and the honest answer is that it depends almost entirely on the individual child. Developmental stage and temperament are the two biggest variables, not effort, not instruction quality, and not how much you practice in any one session.
An eager, physically confident 3-year-old might work through all four stages in a week or two. An 18-month-old starting early might take 9 to 12 months to reach a confident, sustained glide. Both of these timelines are completely normal and healthy. The most important thing to avoid is measuring your child’s progress against other children — every rider gets there on their own schedule.
What consistently slows progress is infrequent access to the bike and too much time on alternative ride-ons like tricycles, which reinforce different movement patterns that do not carry over to balance bike skills. Children who ride their balance bike for even 15 to 20 minutes several times a week progress noticeably faster than those who only ride occasionally on weekends.
One more thing worth keeping in mind: the learning curve on a balance bike is steeper upfront than on training-wheel bikes. Many parents give up after the first week when progress is not visible. The plateau is normal — and it almost always breaks. Stick with it and keep the sessions short, frequent, and fun.
Does My Child Need a Footrest on Their Balance Bike?
Many parents worry about where their child should put their feet during the glide. This turns out to be one of the least important questions in the balance bike world — because children answer it instinctively every single time, without any guidance.
When kids glide, they naturally raise their feet to a comfortable position. Some lift them out to the sides, some bring them forward, some tuck them up behind. None of this requires any instruction or a designated footrest. In years of hands-on balance bike testing and reviewing, it is extremely rare for a child to ask where their feet should go during a glide — they just figure it out.
A well-designed footrest that sits far back on the frame and does not interfere with a child’s natural walking stride is a fine feature to have. But a poorly positioned footrest — one that sits in the path of their stride — actively makes learning harder by disrupting natural movement patterns. If a footrest matters to you, prioritize frame designs where it sits clearly out of stride range.
What Are the Most Common Mistakes Parents Make with Balance Bikes?
Even well-intentioned parents can unintentionally slow their child’s progress. Here are the mistakes that come up most consistently — and what to do instead.
- Seat too high. The most common mistake, by far. If your child is tiptoeing to reach the ground, the bike feels unstable and uncomfortable. Set the seat 1 inch below the inseam and raise it gradually as they grow.
- Pushing the child to sit before they are ready. Standing and walking the bike is a completely valid Stage 1 activity. Pressuring kids to sit before they choose to breeds frustration that can set back progress by weeks.
- Buying a bike that is too heavy. A bike weighing more than 30% of your child’s body weight is exhausting to maneuver. Kids lose interest quickly when the equipment is fighting them.
- Allowing too much time on tricycles or training-wheel bikes. These ride-ons reinforce leaning and stabilizer-dependence rather than genuine balance. If balance bike progress is the goal, keep it as the primary or only wheeled ride-on option.
- Giving up during the plateau. Progress on a balance bike can look nonexistent for weeks before suddenly jumping forward. Parents who stick with it past the first plateau almost always see results within a month.
- Riding only occasionally. Two sessions of 15 minutes per week produces dramatically faster results than one long Sunday session. Frequency builds muscle memory; duration alone does not.
Where Are the Best Places to Practice Balance Bike Riding?
Where you ride matters nearly as much as how often you ride. The right environment keeps sessions safe, productive, and — most importantly — genuinely fun for your child.
For Beginners (Stages 1 and 2)
Start on flat, smooth surfaces. A quiet driveway, smooth sidewalk, or paved park path gives new riders the easiest possible surface to push off from. Grass adds resistance that makes movement harder and can frustrate early learners — better to introduce grass once kids are running and gaining confidence.
For Intermediate Riders (Stage 3)
Open, contained areas become critical as kids gain speed. Quiet parking lots, wide cul-de-sacs, and large park paths work well for Stage 3 riders. This is also a great time to introduce a very gentle slope — even a 5-degree incline naturally encourages foot-lifting and helps children discover the glide entirely on their own.
For Advanced Riders (Stage 4)
Once gliding is mastered, the world genuinely opens up. Dedicated pump tracks, paved bike paths, gentle off-road trails, and kids’ bike parks are all excellent venues for Stage 4 riders. If you are shopping for a bike that can grow with your child from beginner paths all the way to pump tracks, the roundup of the 10 best balance bikes for toddlers in 2025 covers well-tested options at every price point and skill level.
Frequently Asked Questions About How to Ride a Balance Bike
At what age should a child start riding a balance bike?
Most children can start as early as 18 months old, as long as the bike is correctly sized and they can flat-foot the ground with ease. Some smaller toddlers may need to wait until closer to 2 years. There is also no meaningful upper age limit — older toddlers and preschoolers who start later benefit enormously from balance bikes before transitioning to pedal bikes.
Do I need to teach my child how to balance on a balance bike?
For the most part, no. Children figure out balance naturally through the four-stage progression with regular practice and time. Your job is to provide frequent access to a well-fitted bike, a safe space to ride, and consistent encouragement. Formal instruction is rarely needed and can sometimes introduce pressure that slows things down.
Can I just remove the pedals from a regular bike to make a balance bike?
Technically yes — but it is not a great solution. Regular bikes with pedals removed are almost always significantly heavier than purpose-built balance bikes, and their seat heights typically do not adjust low enough for toddlers to flat-foot the ground safely and comfortably. A purpose-built balance bike is lighter, better proportioned for small bodies, and genuinely safer for young children learning to ride.
How do I know when my child is ready to move to a pedal bike?
Watch for two things: confident, sustained gliding for several seconds at a time, and genuine interest in bikes that have pedals. There is no target age — some kids make the switch at 3, others happily stay on their balance bike until 5 or 6. Balance bike graduates typically learn to pedal within a single session, often within the first 10 to 15 minutes, and almost never need training wheels.
Does my child absolutely need to wear a helmet on a balance bike?
Yes, every single time — no exceptions. Even at slow speeds, toddlers fall and they fall face-first. A properly fitted helmet can be the difference between a minor scare and a serious injury. Make it a habit from the very first ride so it becomes as automatic as putting on shoes before going outside.
What is the correct seat height for a balance bike?
Set the seat approximately 1 inch below your child’s inseam, measured from the floor to their crotch while wearing their usual riding shoes. This creates a slight bend in the knees — an “athletic stance” — that makes pushing off natural and comfortable. If your child is tiptoeing to reach the ground, lower the seat immediately.
What if my child is afraid of the balance bike?
Fear at the beginning is completely normal. Do not force the issue. Let your child explore the bike on their own terms — sitting on it while it is stationary, walking beside it while holding the handlebar, or simply looking at it in the garage. Watching other children ride in person is often the single most effective motivator for hesitant kids. Remove all time pressure, celebrate every tiny step forward, and never compare your child’s pace to another child’s.
What Comes Next: From Balance Bike to Pedal Bike
The transition from balance bike to pedal bike is one of those milestones that feels enormous from a parent’s perspective and turns out to be surprisingly quick from the child’s perspective. Balance bike graduates almost universally skip training wheels. Many parents report their child pedaling independently within a single 30-minute session — sometimes within the first few minutes on the new bike.
When you are ready to make the move, start with the pedals removed on the new bike. Let your child use familiar balance bike skills — running and gliding — to get comfortable with the new frame size and weight. Once they are moving confidently, add the pedals back and let them figure out the circular motion themselves. Most kids nail it very quickly because the only genuinely new skill they need to learn is pedaling. Balance, steering, and stopping are already second nature.
The most important thing throughout this entire journey — from that first wobbly step over the frame to the day they glide across the park with their feet in the air — is that every child gets there on their own schedule. There is no race. The goal is a child who loves riding, not one who hits an arbitrary milestone by a certain age.
Ready to find the right bike to start the adventure? Our complete parent’s guide to choosing a balance bike covers sizing, wheel types, must-have features, and everything else you need to pick the right model for your child’s age, temperament, and riding goals.
—